A LeadPage template is created under Templates by clicking on +New/LeadPage template. A LeadPage template is the basis of every LeadPage and can be filled with static content - such as the editorial or the imprint - in advance. In the LeadPage template, you define how a LeadPage is displayed. When you create a LeadPage, a copy of this template is created - the actual template remains unchanged, when the LeadPage is changed.
Design
The following display modes are possible:
LeadPage: The LeadPage template defines how the LeadPage is displayed in a browser. The source code is HTML.
Landingpage: The display of the extended content of an article on the landing page. The source code is HTML.
PDF: The LeadPage is displayed in a print-optimized form as PDF. The internal HTML editor is available in the respective tabs for editing the output formats. If you check - Can be changed in LeadPage - you can modify the output format in the LeadPage.
A tab with an HTML editor is available for each display type (LeadPage, Landingpage, PDF).
Warning!
Even if you allow editing in the LeadPage, you can only configure slots in the LeadPage template. However, in the LeadPage, you can use the source code to influence the positioning of slots in the LeadPage.
Configuration
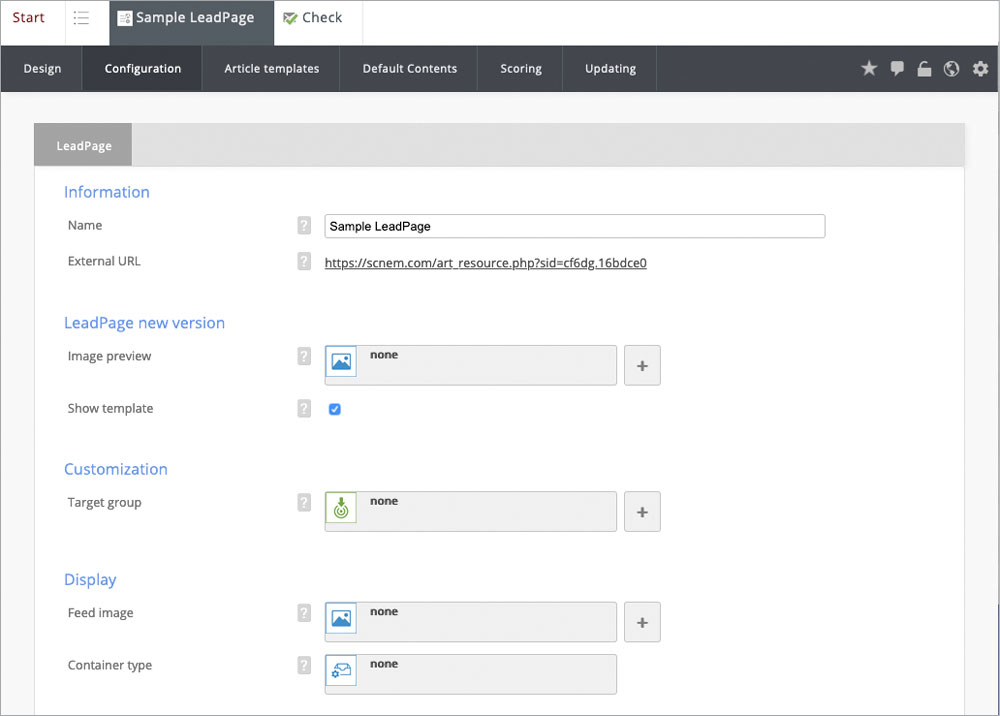
Under the Configuration tab you can make basic settings for the template.
Information
Name: Name of the template
External URL: Link to LeadPage template
LeadPage new version
Preview image: Here you can insert an image that appears when you want to create a new LeadPage.
Display template: This setting determines whether the template is displayed when you create a new LeadPage.
Customization
Target Group: Here you can insert a target group whose profiles will be used in a simulation of the individualized View.
Display
Feed image: Determines which image should be displayed for an ATOM/RSS feed.
Container type: Input elements of the container type are made available to the eMailing content for advanced configuration.
When you configure the template, you define, for example, a target group for the simulation of an individualization or whether the template is available for display.
Article templates
This view corresponds to the "Advanced Editor" in the tab "Contents" of the LeadPage. Here you configure the names of the slots used and define their default article templates. In a LeadPage, only slots that have been configured in the LeadPage template can be filled. If it is necessary to use different article types in a slot, you can define a separate set of article templates for each article type and slot used. If unknown article types are used or if certain article templates are not set for an article type, the article templates will be taken from the standard configuration.
On the Article templates tab, you configure the names of the slots used and set their default article templates.
Default contents
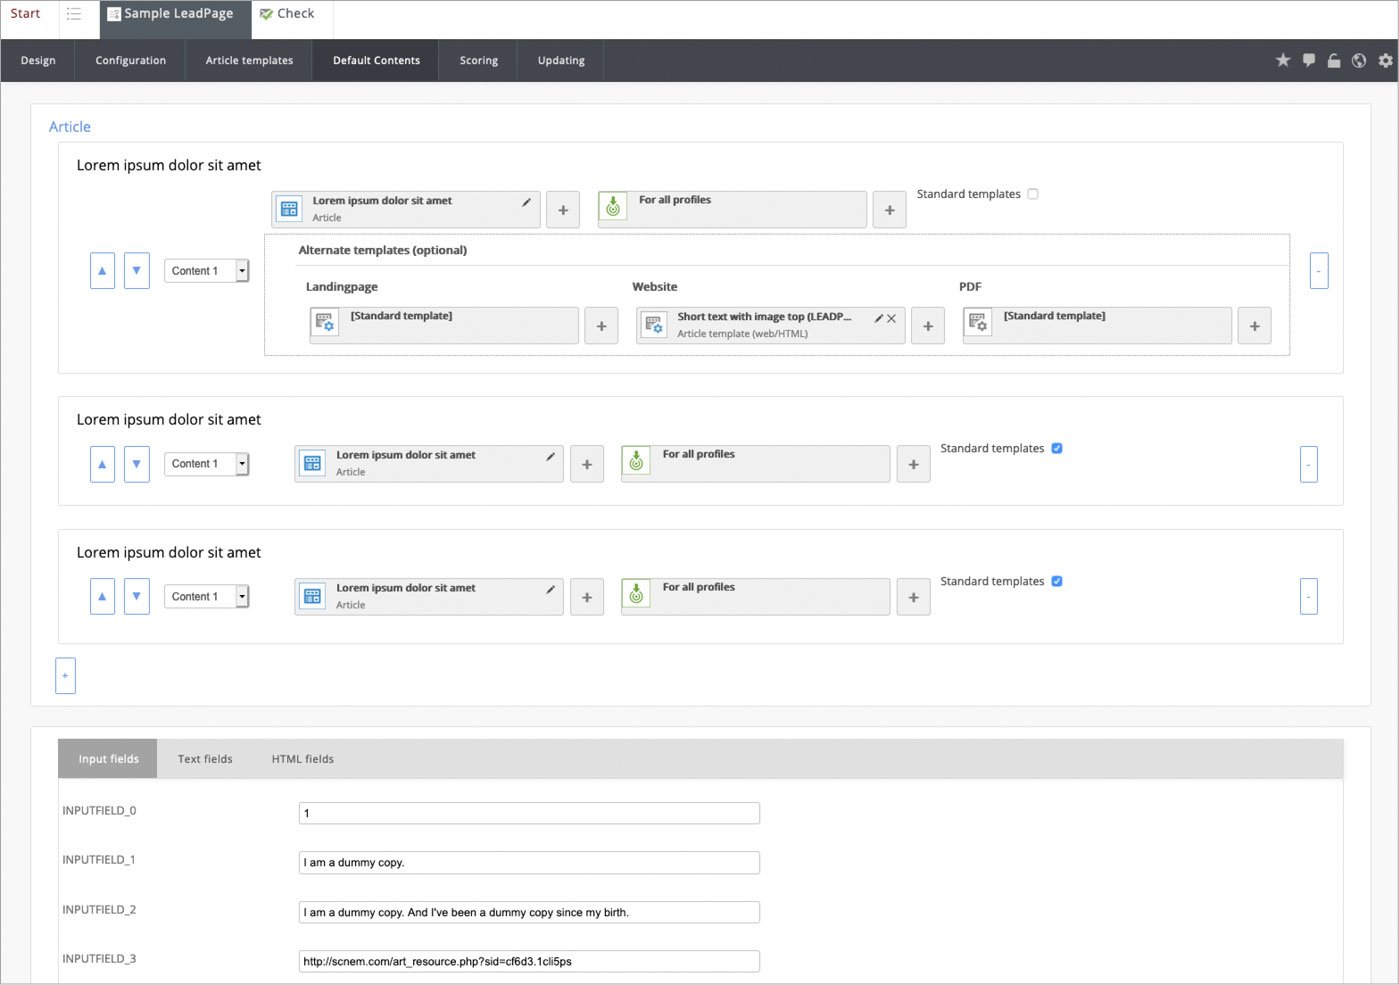
Here you configure demo articles for the used slots and demo contents for the used input fields (e.g. HMTL area, text area, etc.). This allows you to test how LeadPages that are created using this template will look later.
To test the appearance of the LeadPage, you can insert standard content and assign article templates for the demo articles here.
Scoring
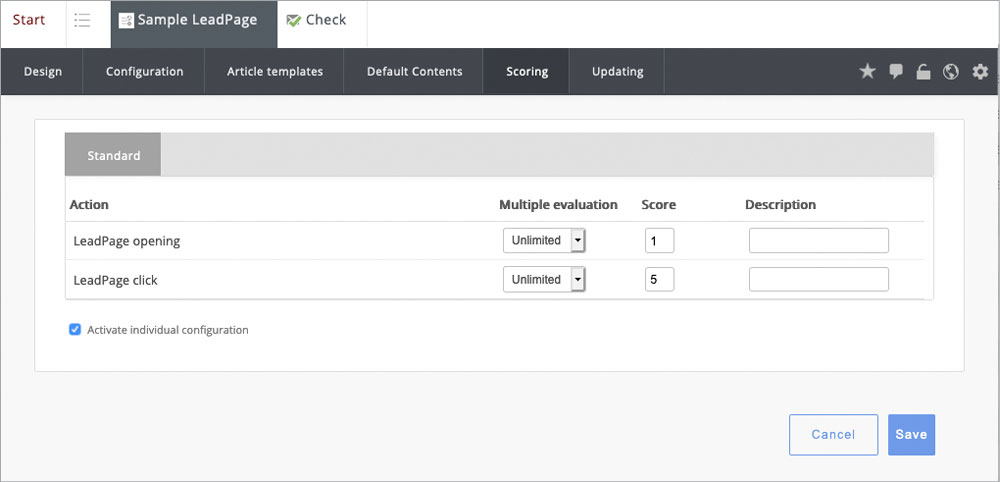
Here you can specify scoring values for the LeadPage opening and the LeadPage click that differ from the standard definition. These values can be defined individually in the LeadPage. To do this, place a checkmark in Activate Individual Configuration and assign your own scoring values for openings and clicks.
Scoring values can be assigned individually, even multiple scoring values can be limited in time.
Update
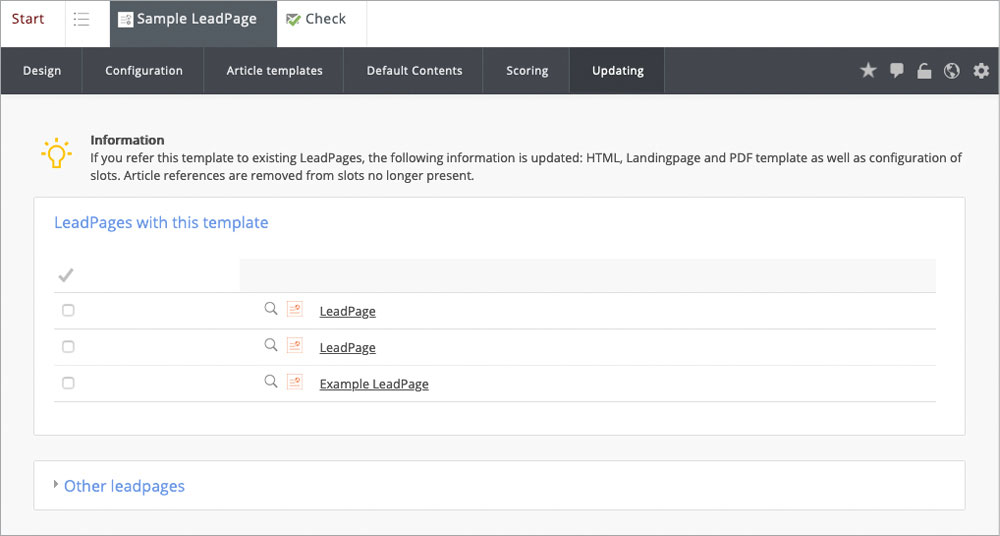
Changes to the template do not directly affect LeadPages already created. You must first assign changes to a LeadPage so that they also take effect for this LeadPage. All source fields, the slot configuration, and other selected settings are transferred to the LeadPage. This protective measure prevents accidental changes to LeadPages that may already be online at this time. In the upper area, you can see the LeadPages that have already been created using this template and are therefore the most likely targets of an adjustment. Below this, you can also display all other LeadPages in the client that are not based on this template. Select the relevant LeadPages using the checkbox in front of the name of the object and click on Save and assign at the end of the page.
If you have changed the LeadPage template, you must transfer the changes to the existing LeadPages. To do this, select the LeadPage and click Save and Assign.
Check
Under the tab Check there is a selection of possibilities to check the functionality of the LeadPage template:
Customization shows the display of individualized and personalized variables for the target group set here. To set it, select a suitable target group and save the object. If no target group is selected, the defined personas are offered for each pool. By clicking on "Preview" at a profile of the target group, the LeadPage will be adjusted to the data of the profile concerned - e.g. individualized articles, etc. This way you can check the individualizations and personalizations for correctness.
Eye-tracking provides an overview of the probable eye movement of the visitor. Additional costs are incurred for this check. Text analysis is used to evaluate the content of the LeadPage for comprehensibility. This check is only available for German-language content and additional costs are incurred.
Links shows all standard and individual links integrated in the LeadPage and checks them for validity - in other words, whether the target can be reached. Correct links are marked with a green OK, possible errors are marked in red.
You can find further information on this under: LeadPage


